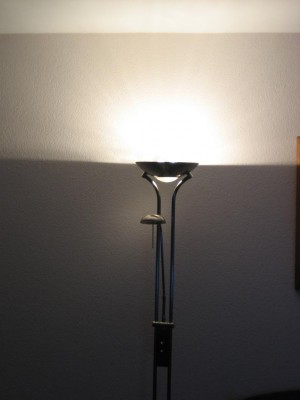
 In this article I would like to show you how to convert a 300W Halogen torch lamp into a 56W lamp for less than €12 in about half an hour.
I would like to thank my colleague Paul Meens for translating this article into English.
Warning!
The dismantling/taking apart of electrical parts is not without risks. This article is not a DIY-handbook, but only a report of an experiment I have done. The Author of this article, nor OliNo can accept any liability.
Tools and Materials
Tools used:
- Screwdriver
- Hammer
- Scissors
- Wire-stripping pincers
- If necessary, a hex key to temporarily loosen the lampshade.
- If necessary, a metal drill to enlarge the screw holes of the lamp.
In Total, the parts I bought at the local DIY-store costed €11.56.
Materials:
- Approx. 0.5 meters of electrical wire
- Wire nut
- 2 metal o-rings
- 2x lamp holders 90° angle, white €1.79/pc
- 2x ecoclassic energy-efficient lamp 28W (40W) E14 €3.99/pc
The rebuild
Before starting: pull the plug out of the socket!
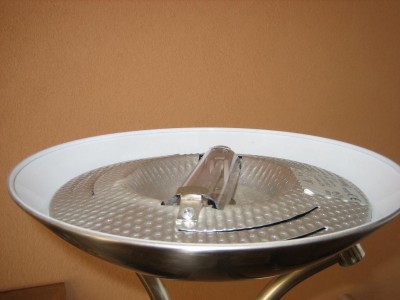
The cover is loosened so I can easily access it.
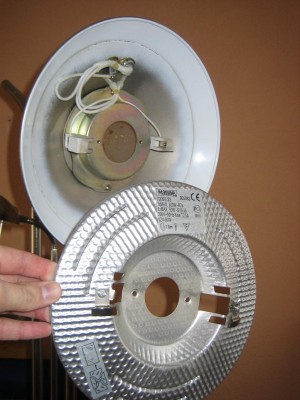
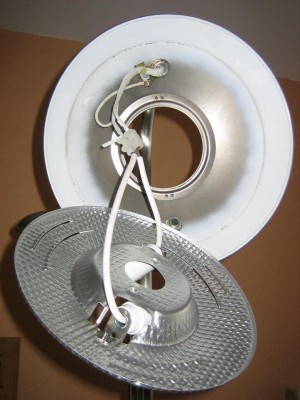
First, I removed the small metal plates from the glass cover as well as the cover itself. Then I took the halogen lamp out of it’s fitting and loosened the screws of the reflecting plate underneath.
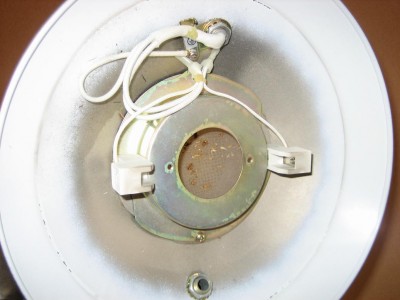
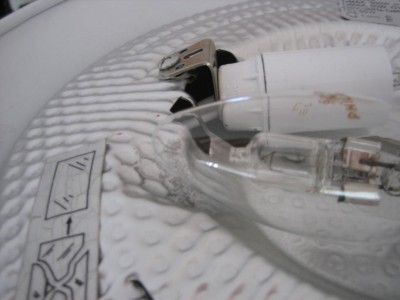
Beneath the reflecting plate is the ceramic attachment of the halogen lamp. I loosened the fitting with a screwdriver and cut the wiring, leaving enough to attach the wire nut later on.
In my case, this was also an excellent opportunity to clean the glass parts of flies 🙂
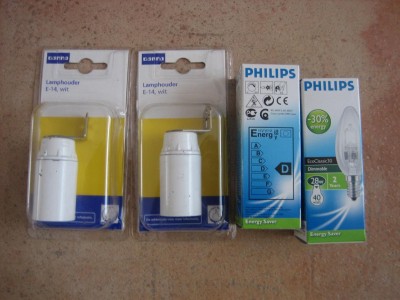
The used lamp holders and lamps
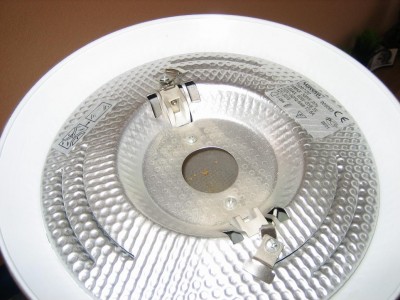
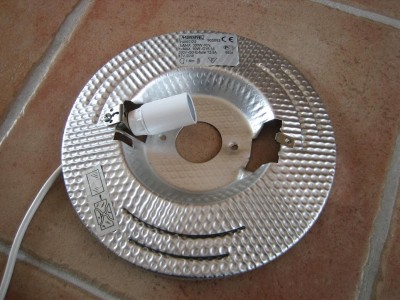
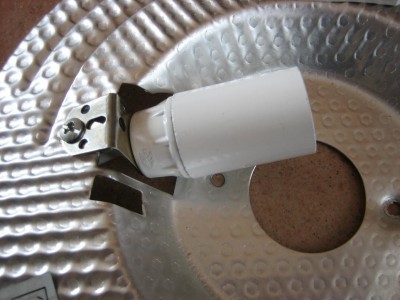
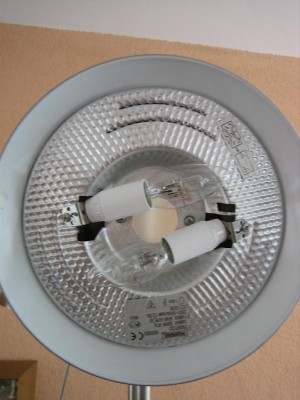
The aluminium reflector plate is pretty fragile. The thin connector pieces next to the fitting (see Photo 2) were easily removed with a set of pincers. After that I cautiously turned up a corner so the new fitting could be placed at an upward angle. This was necessary to place two bulbs of this Wattage. I then bent the whole metal plate so that the lamps didn’t stick up too much from the cover. I attached the 25cm electrical wires to the lamp holders. Then I attached the lamp fittings with the screws and clips previously used for the glass cover.
I cut the electrical wiring to size, taking into account the position of the screw holes of the cover. At one end of the wire nut the wires for the lamp will enter, at the other the wires of the lamp holders.
This is the First conversion I’ve done. The lamps will not become as hot as the original halogen lamp. However, if the lamps do get too hot, I recommend using the wire of an old iron instead of an common copper wire.
The reflecting plate with the new lamps attached were then reattached to the lamp and screwed down. After that, I reattached the lamp cover and used hex bolts to screw it down.
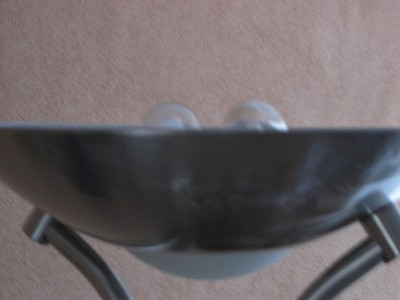
Unfortunately a little out of focus, but you can clearly see that the lamps protrude slightly from the cover because of the design of the lamp.
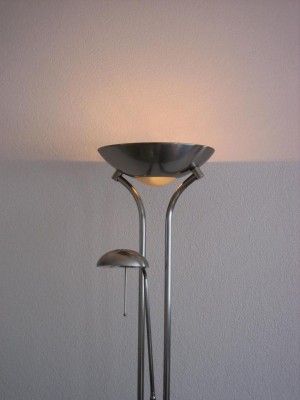
By using the original dimmer function it is possible to adjust light intensity.
Lamp choice
The choice of the EcoClassic 30 bulb was made because of it’s brightness and it’s dimming qualities. The lamp using no more than 56W with a brightness of 80W maximum. Before, this lamp would often be forgotten, leaving it to burn at 180W capacity.
By dimming the lamp, the consumption of energy is reduced further. But the light intensity reduces quicker than the capacity. From the article How efficient is a dimmer? (Dutch) you can deduce that at a light reduction of 50%, the bulb still needs 75% of it’s capacity to burn.
Small Adjustments
Because the filament could be seen from a distance, I placed the bulbs lower in the lamp cover.
By carefully hammering on the cover, I was able to make a small dent so that the lamps would not touch the cover, but lay deeper.
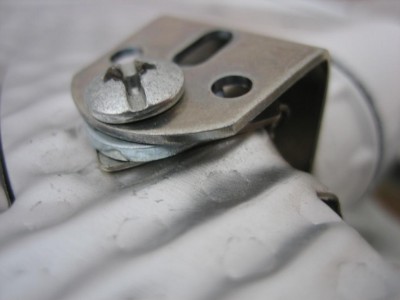
To lower the bulbs, it was also necessary to use a ring underneath the bracket of the lamp holder. The bracket was bent further using pincers.
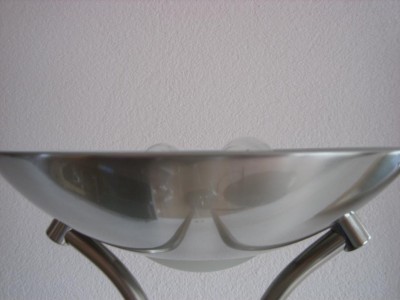
The result: you can clearly see here that the left lamp is significantly lower than the right one.
The adjustments took 5 – 10 minutes of work.
How much did we save?
After the rebuild, the lamp used only 56W, a saving of 80%. We use the lamp slightly dimmed. A measurement showed us that the usage is 50W. Because this lamp is used almost continuously as the main light source in our living room it often burns from dusk until 2300 hours every day. This is an average of 3 hours/day.
The old halogen light was also used dimmed, and calculations were 180W averaged. The 300W halogen lamp would use 180W x 3 hours x 365 days = 197 kWh annually. The new lamp will only use 55 kWh. This means an annual saving of (197-55) kWh x 0.23 euro cent (Dutch kWh tariff) = €33.


2 replies on “Conversion of a 300W Halogen Torch Lamp to 56W”
Thank you so much for posting this! I have the same lamp and am going to be using two LED bulbs each equal to a 100 watt incandescent. Both bulbs also dimmable. Take care and God Bless… Frankie
I’ve been looking everywhere for a good list of less lighting comparison blogs that will help me to decide to pick the best one. It seems that this one answered all the questions on my mind. Thank you so much!